Wine from fresh fruits is always the best! But, sometimes, you’ll just have a fruit juice lying around and need a way to use it, or there is no way for you to get fresh fruits. Well, don’t fret! With this six-step process, you will learn how to make wine from juice in no time!
Can You Make Wine from Juice?
You can make delicious and unique wines from juice!
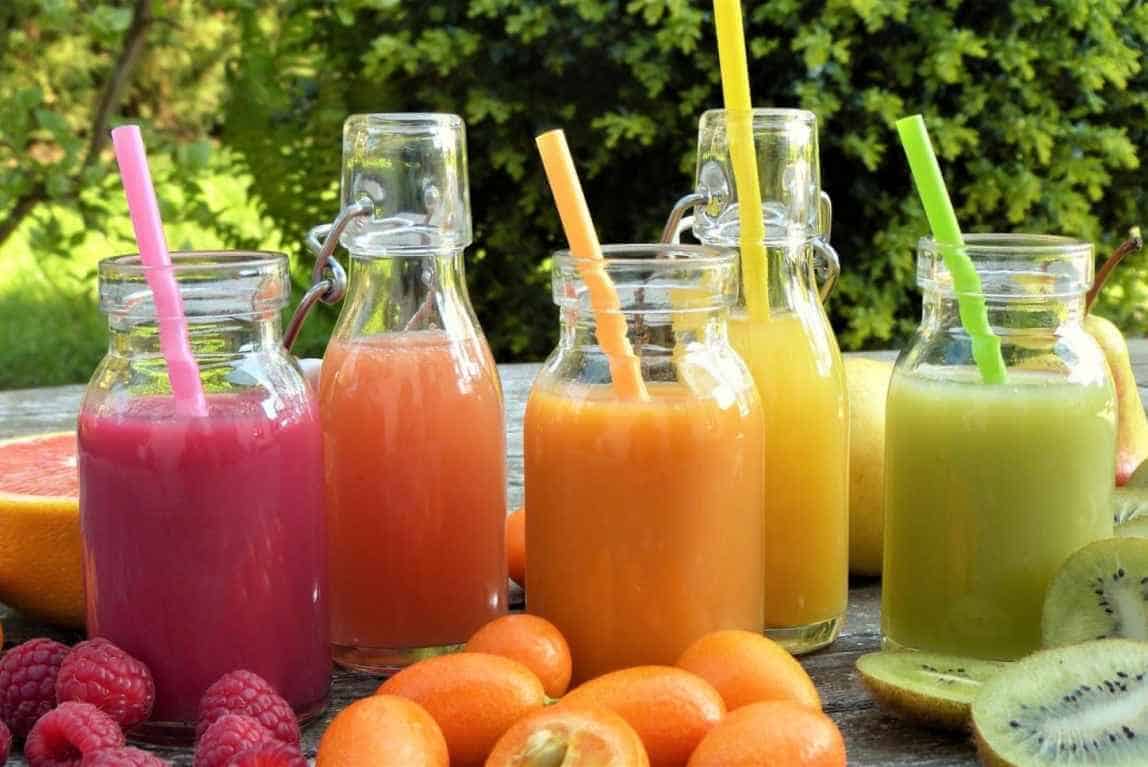
Fruit juices like grape or apple are perfect for making homemade fruit wines as they provide natural sugars that will feed yeast during fermentation. Even frozen concentrated juice works great if fresh fruits aren’t readily available.
It’s also easily obtained at grocery stores or farmer’s markets, making it simple (and affordable) to start experimenting with home winemaking as a beginner.
How to Make Wine from Juice?
Before we start making the wine, let’s complete the following things first:
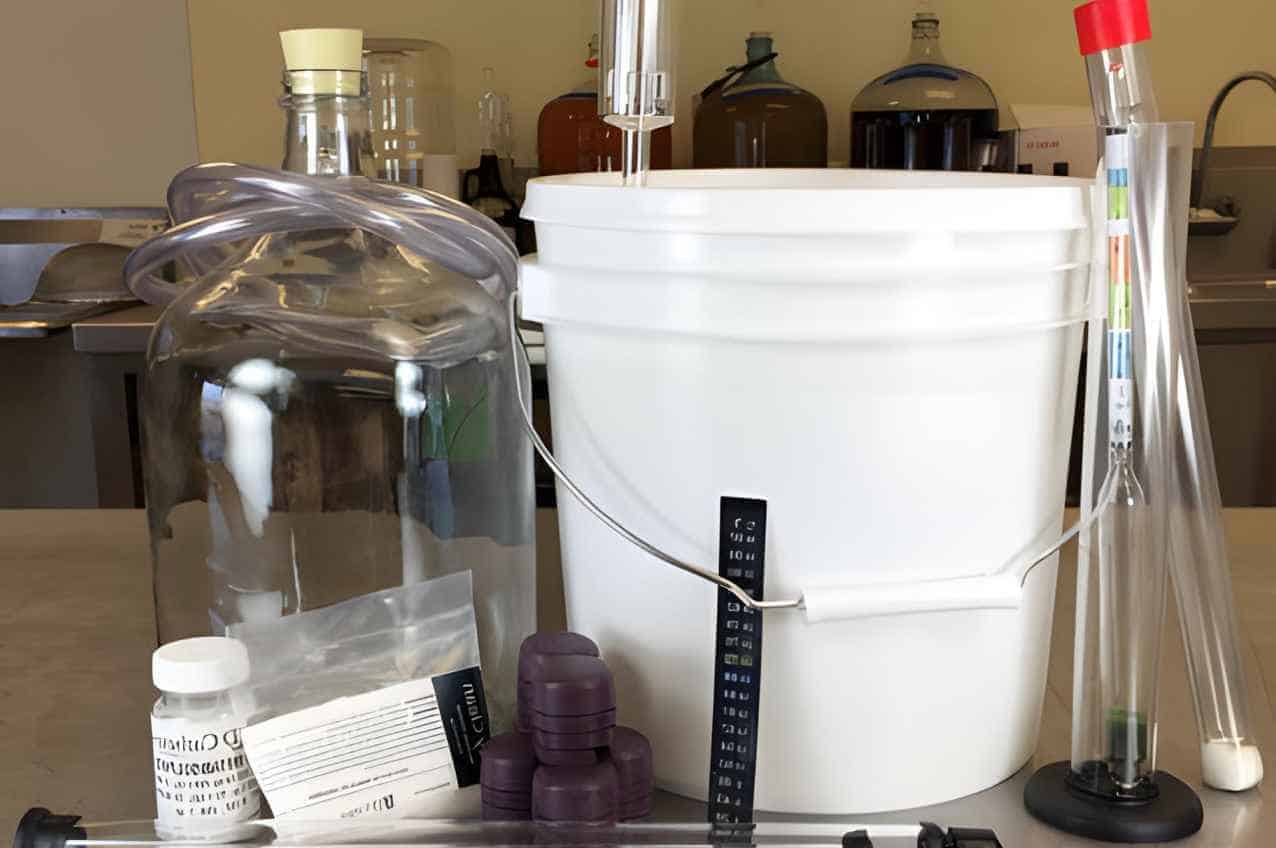
Equipment:
- Primary fermentation container
- Secondary fermentation container or carboy
- Airlock and stopper
- Siphon tubing
- Wine bottle corker
- Sanitizer
Ingredients:
- Fruit Juice
- Yeast
- Sugar
- Strong Black Tea
Optional but Recommended:
- Yeast Nutrient
- Pectic Enzyme (Pectolase)
- Glycerine
- Campden tablets
- Bentonite
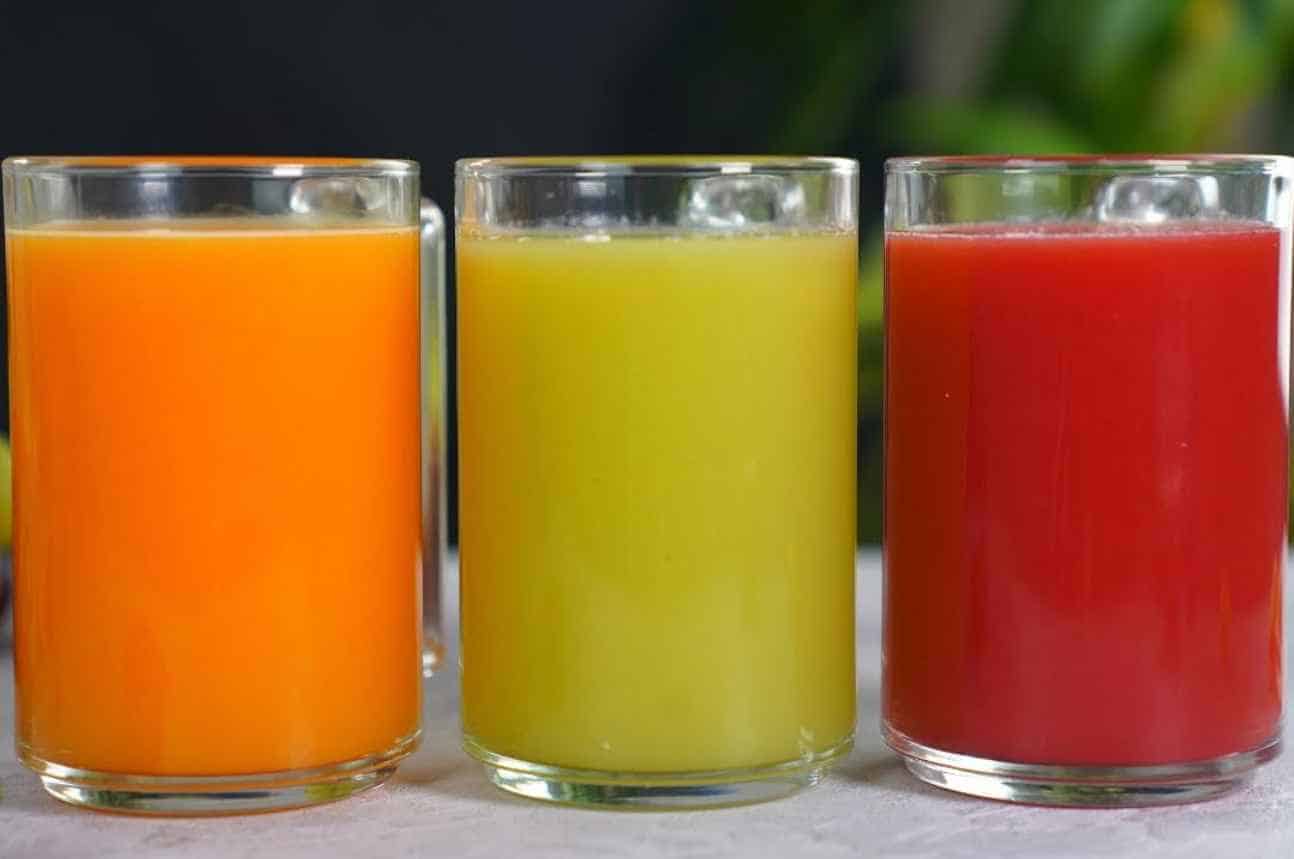
1. Choosing the Right Juice for Wine Making
Ah, the joy of brewing one’s wine is just a bottle away. But wait! Did you know that selecting the right fruit juice lies at the heart of excellent homebrew winemaking? Indeed it does!
To begin with, source high-quality fresh unpasteurized fruit juices or 100% pure bottled juice varieties from reputable local manufacturers; think grapes for classic reds and whites. Or a mix of orange and cranberry juice for a more fruity and sweeter twist.
While grape juices are the best choice for winemaking as they have classic flavors typical of red and white wines, other alternatives like pomegranate or blueberry provide excellent taste diversity.
Note: It’s best to have a bit of orange for every blend. It doesn’t need to be a primary flavor, but its presence is important as an acidic agent.
2. Sanitizing the Equipment
The sanitation process refers to cleaning the equipment that will come in contact with your wine. It prevents unwanted bacteria from contaminating your juice. Cleanliness and hygiene are essential throughout all stages of fermentation since any bacteria present at the initial stage might ruin the entire batch.
That said, let’s see the steps for sanitizing the equipment:
- First, clean all of your tools and equipment with soap to remove any dirt, debris, or residues that may have accumulated.
- Mix a baking soda solution and distilled white vinegar or unscented household bleach. Submerge them in the solution for 10 to 15 minutes.
- After cleaning each tool and bottle thoroughly, rinse them one by one using warm water until entirely free from soap suds.
- Then dry them.
4. Mixing All of the Ingredients
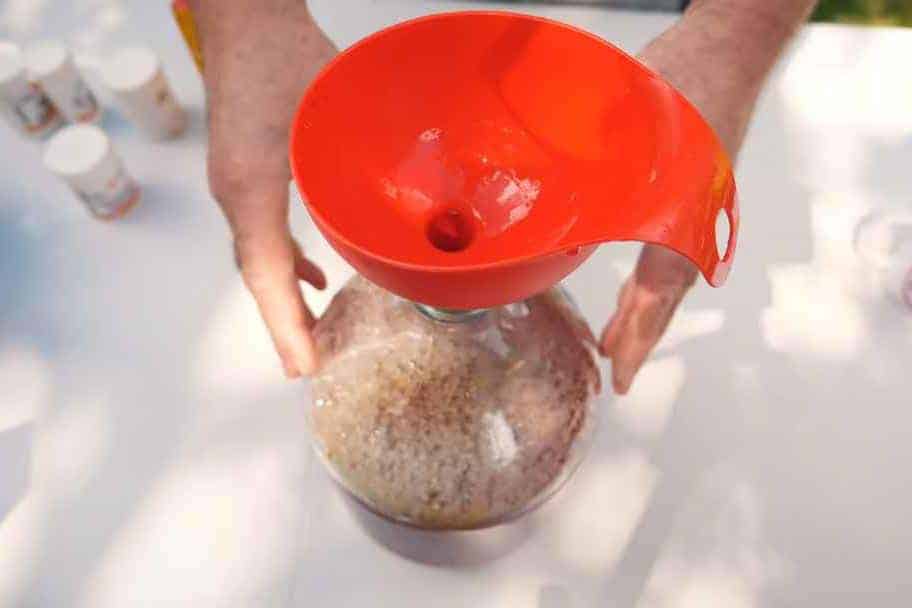
Mixing all the ingredients involves a careful balance between methodical steps and creative experiments. With equipment having been sanitized properly, it’s time to first carefully blend chosen fruit juice with the following ingredients:
- The first on our list is sugar: With this recipe, you will use around 800g of sugar for four liters of fruit juice. Don’t worry about the large amount of sugar in the wine; by the time it finishes fermenting, the yeast eats most of the sugar.
- Yeast and Yeast Nutrients: The yeast is the second most important thing to making wine from juice. It turns the sugar into alcohol and CO2. Although yeast nutrient is optional, it aids in making your wine a lot more complex. Add about one teaspoon each for the best result!
- Pectic enzymes will draw out the fruity and complex flavors of the juice: It can be very helpful since you are using an already processed product. It can help break down stubborn compounds, making fruits more suited for fermentation.
- TGlycerine will take your juice wine to a whole new level: It aids the mouthfeel of the fruit juice. It will help your wine to be more thicker and full-bodied. If you use grape juice, you can skip this step.
- Bentonite will help with the clarifying of wine resulting in a better color: You can add it as the wine ferments or in the clarification process.
When using these powder blends, it often needs dilution. The juice must be homogenized to blend and distribute sugar evenly. Let it sit for a while to allow aeration before starting fermentation. This lets yeast populations proliferate, balancing pH naturally hence increasing stability (depth and range of flavor).
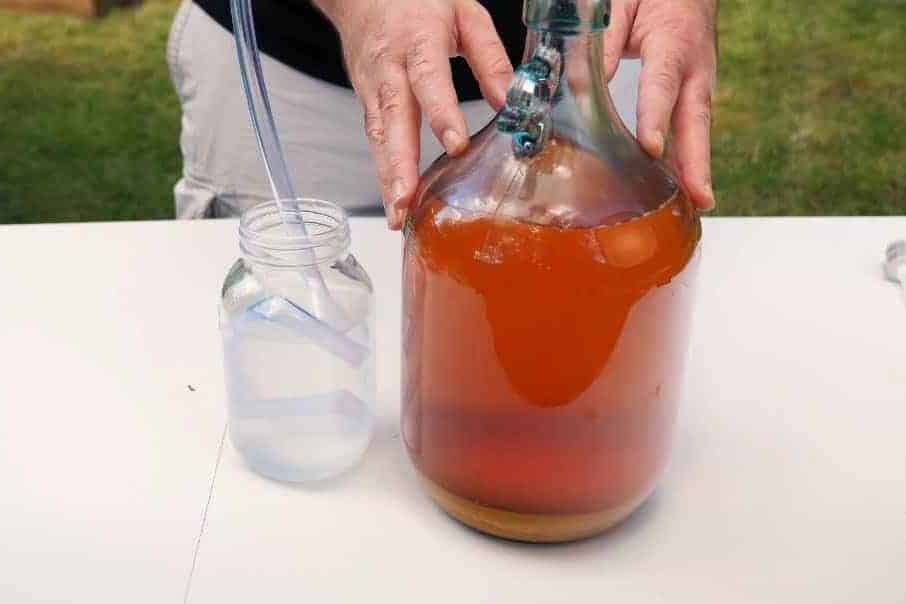
5. Let it Ferment
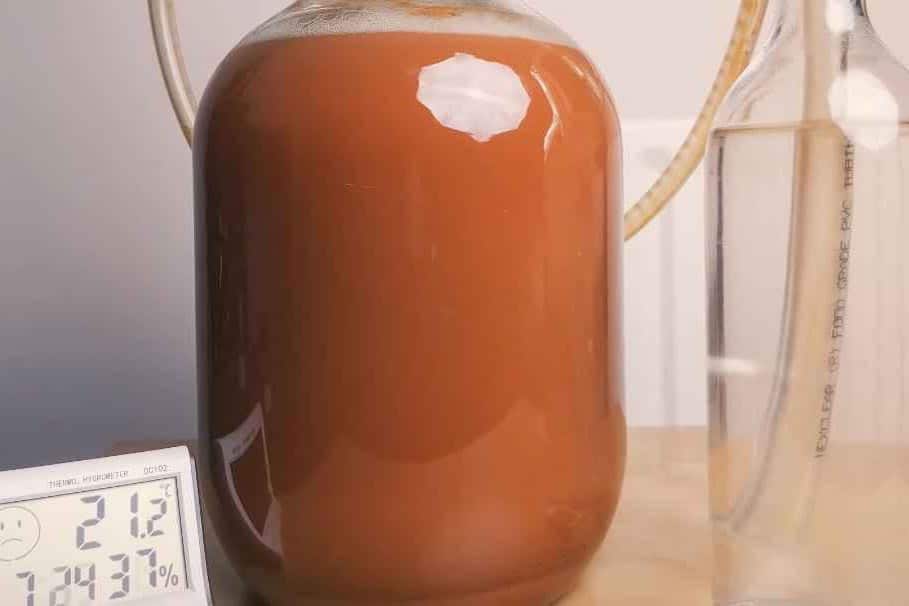
Fermentation is where all the magic happens when it comes to winemaking. It’s what transforms sugar into alcohol with help from yeast organisms –and it’s no different for fruit-based juices, either!
Once you’ve chosen your juice (whether that be a concentrate or fresh-squeezed option), here are the essential steps involved during fermentation:
Once the ingredients are all in the sterilized container, you can start the fermentation. As an optional starter, you can add a Campden tablet.
Campden tabs could kill off unwanted bacteria and fungus, thus lessening the chances of bacteria outgain by the yeast. It will also control the risk of turning your wine into vinegar.
Once your must is inside the designated fermentation bottle, use an airlock to keep it from spoiling. It will also ward off any vinegar bugs.
Yeast is sensitive to temperature variations. Overwarmth or harsh cold disrupts efficiency, causing unpleasant flavors to result in rough/flat wine. The ideal temperature range is 55°F -85 °F; make sure to watch the wine over as it ferments.
For the first few days, mix the blend inside the fermentation container. It will help the wine develop better.
6. Clarification
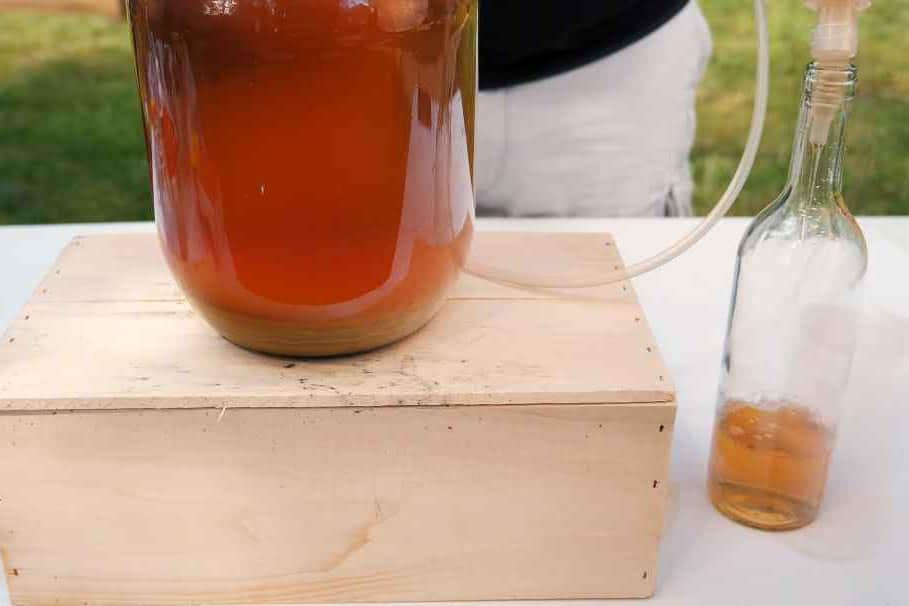
Once your fermented fruit-based juices have been stabilized and fermented, it’s time to start preparing them for bottling. This is where clarifying comes into play —removing sediments (For both appearance & flavor).
Here are some tips on how best to carry out clarifications:
A quick first step before aging involves pouring as much clear liquid off the accumulated sediment. For the best results, you will need to use a siphon to transfer the clear juice from the fermentation bottle.
Tip: When siphoning, ensure not to disturb the bottom layer when taking the clarified upper portion. To do this, don’t let the siphon hit the bottom of the wine.
Another step is to use clearing agents. Isinglass and Bentonite are among the best clarifying agents for wine. It also results in a much more transparent finish, which is vital if you want a lighter and cleaner wine look. Egg whites can also be used as an additional clarification method that results in richness being added.
If you have the means to do so, a filtration machine can also aid when making a bottle of homemade wine from fruit juice. However, it’s not necessarily needed.
7. Bottling and Aging
The aging period may vary depending on your desired outcome. Generally speaking, though, the wine should be stored in a cool (55°F-65°F), dark place with minimal temperature fluctuation & indirect air exposure so it could mature without any significant changes.
For fruity wines such as this one, you can enjoy it as soon as the fermentation is finished. The result is a lighter and more fruiter blend.
That said, if you want to have more of a full-bodied and complex blend, you should age the wine for at least three months.
Tips for Successful Wine Making
Use High-Quality Juice
As with any fantastic culinary creation, the quality of your ingredients can make or break the final product. Start with fresh, high-quality juice from ripe fruits without additives or preservatives for optimal flavor potential in every glass.
Age the Wine Properly
One of the most frequently overlooked parts of winemaking involves undergoing its natural transformative aging. Make sure to first set standards by maintaining and checking on the wine as it ages. The result is a more complex fruit wine.
Store the Wine Properly
Once bottled and aged, ensure it’s sealed tightly enough. You can use a cork and seal for the best result. Store it away from elements that might spoil the wine, such as direct sunlight, heat, and fluctuating temperature.
Where you store your wine matters just as much. Keep it in a cool and dark place at around 55°F-60 °F.
To learn more about the proper storage of wine, check out our other article here.
Don’t Skip Clarification
Finally, clarifying should never be overlooked whether experienced winemakers whose efforts utilize Clarification since doing so removes mucilaginous proteins and yeast leftovers, reducing unwanted odors and enhancing brighter colors overall, aiding cellar stability and overcoming spoilage risks.
This may take some extra effort but trust us – skipping corners eventually becomes skimping on pleasurable outcomes!
Whether setting out on your first-ever fermentation journey or looking to fine-tune existing skills, our optimized list above ensures fruitful success in transforming mere fruit juice into lovely wine!
Conclusion
With these six easy steps, you can make your wine from juice in no time! Make sure to follow it closely and follow the tips to avoid spoilage. What are you waiting for? Grab some juice and start your wine journey today.