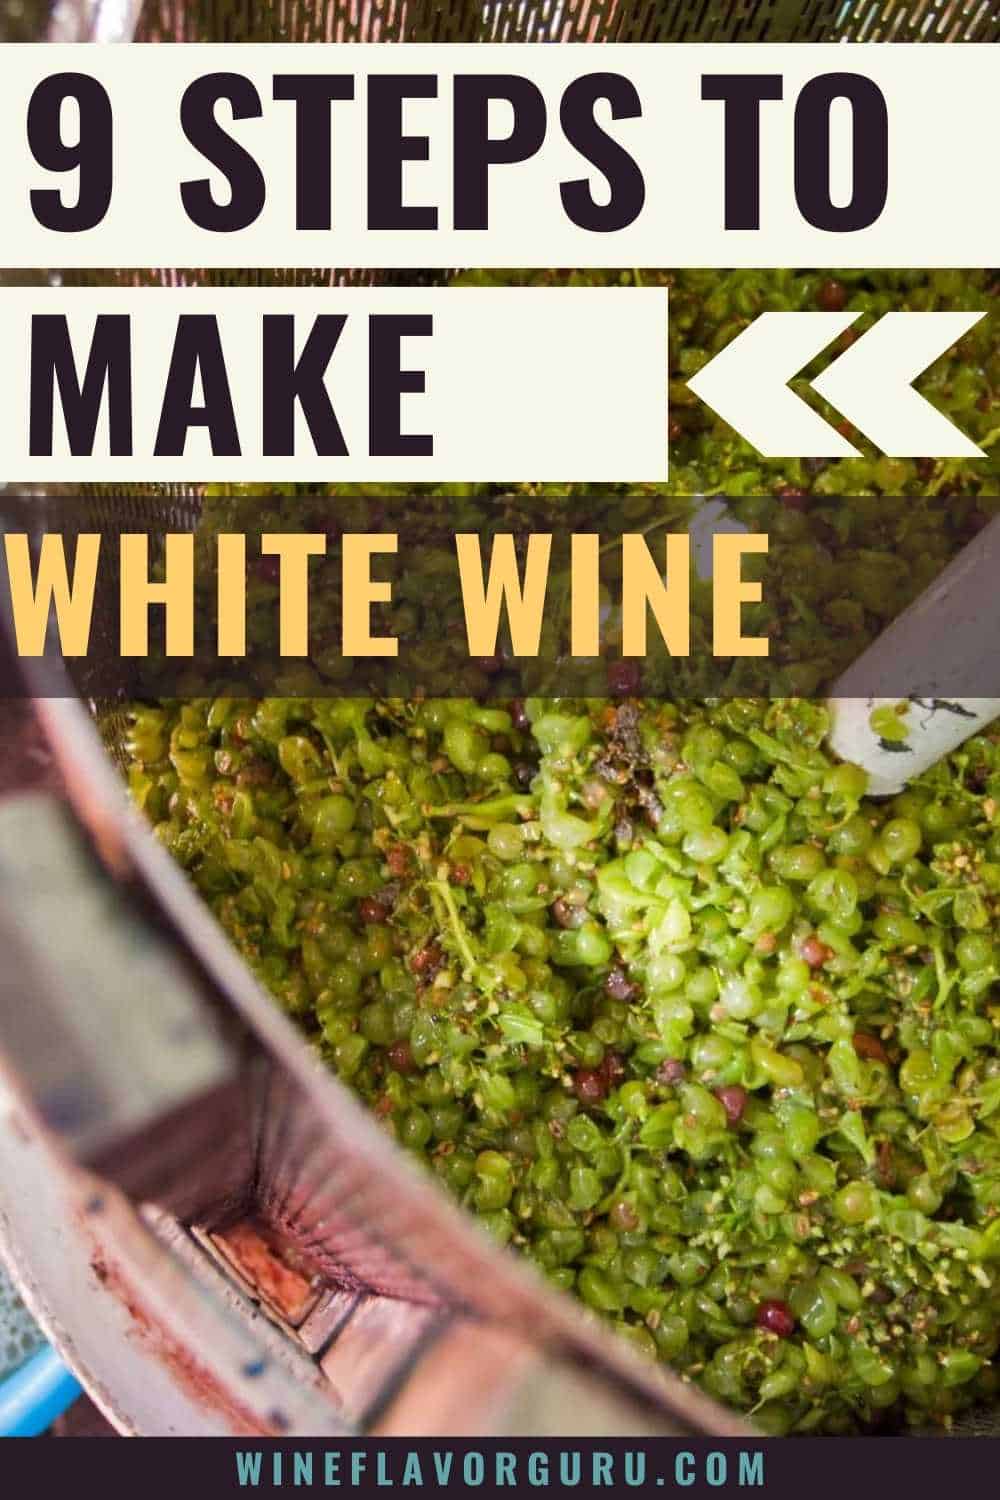
Are you wondering how to make white wine? Well, you came to the right place, as we will show you our way of making white wine today! Also, yes. You read that right. It only takes nine steps!
As you probably already know, you will need time before you can drink this wine, so let us not delay any more. Let us get started now!
Step 1: Getting the Grapes
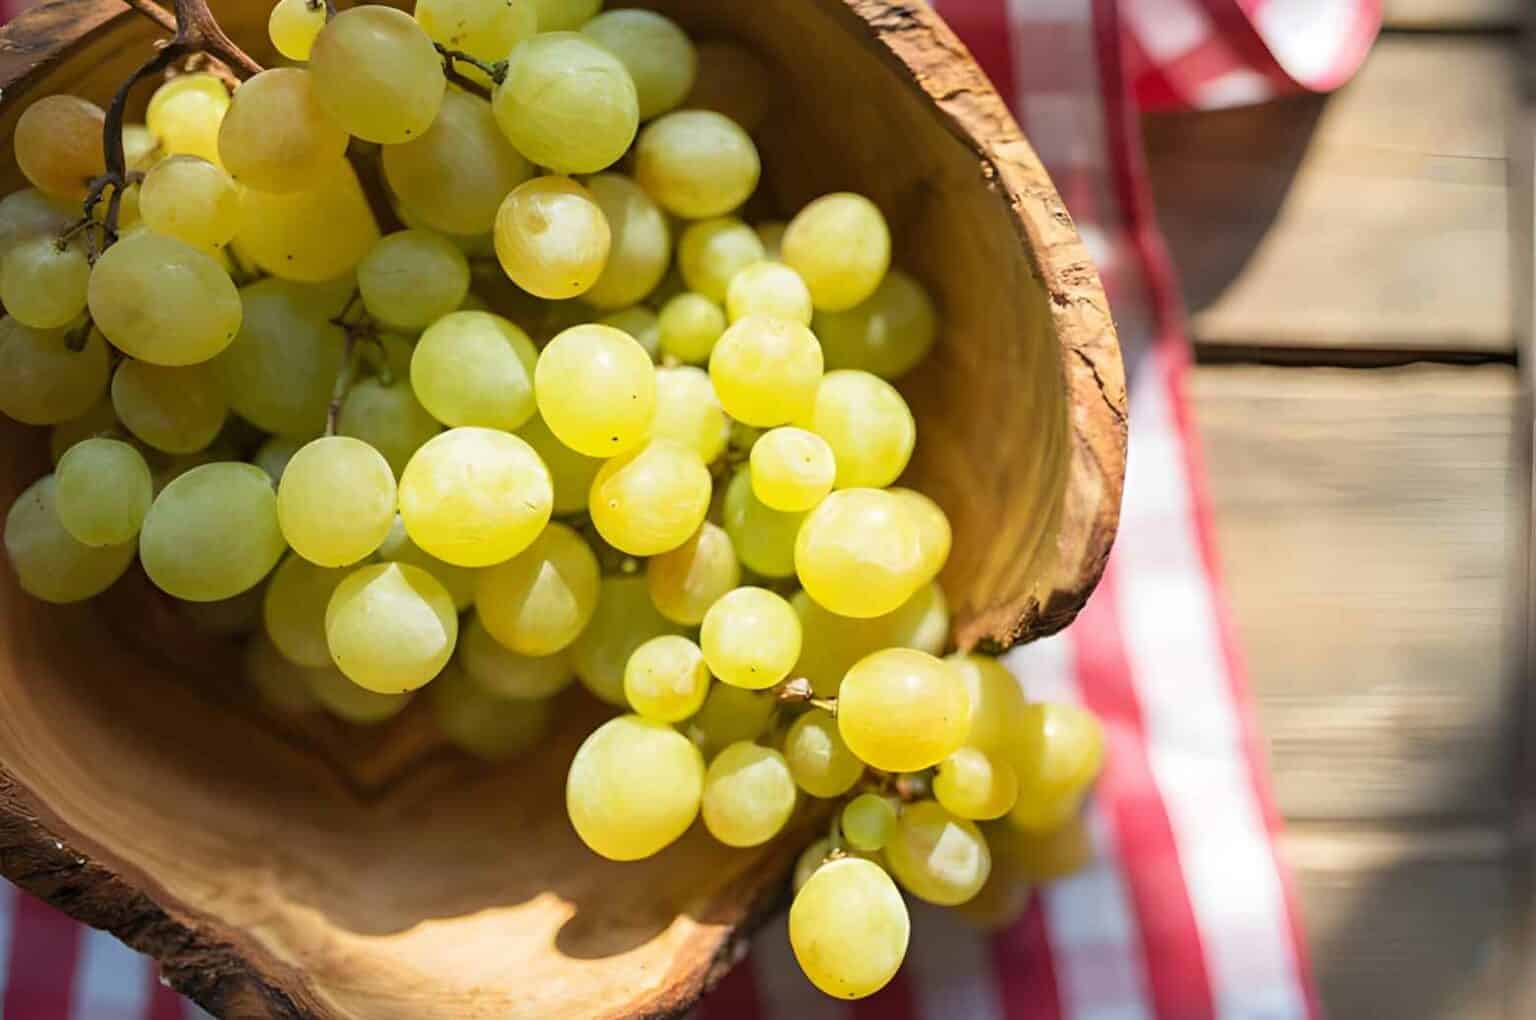
Before we can make the wine, we need some grapes.
In getting grapes and winemaking in general, timing is of the essence in more ways than one.
For one, ripeness plays an important role. Depending on the white wine you want to make, you want to wait for a particular ripeness for optimal results.
For another, picking grapes at cool temperatures is ideal. With that, it would be best to time harvesting the grapes early in the morning. If possible, you might want to go the extra mile for some great white wine by starting before sunrise.
Finally, freshness also plays an essential role. With that, you do not want to put off the other steps for later when you harvest the grapes. It would be best to pick the grapes and begin the following steps immediately. On the other hand, if you cannot grow or pick your grapes, it might be best to buy white wine juice instead. This way, you can ensure the grapes got crushed and pressed while they were still likely fresh.
Step 2: Crushing and Pressing the Grapes
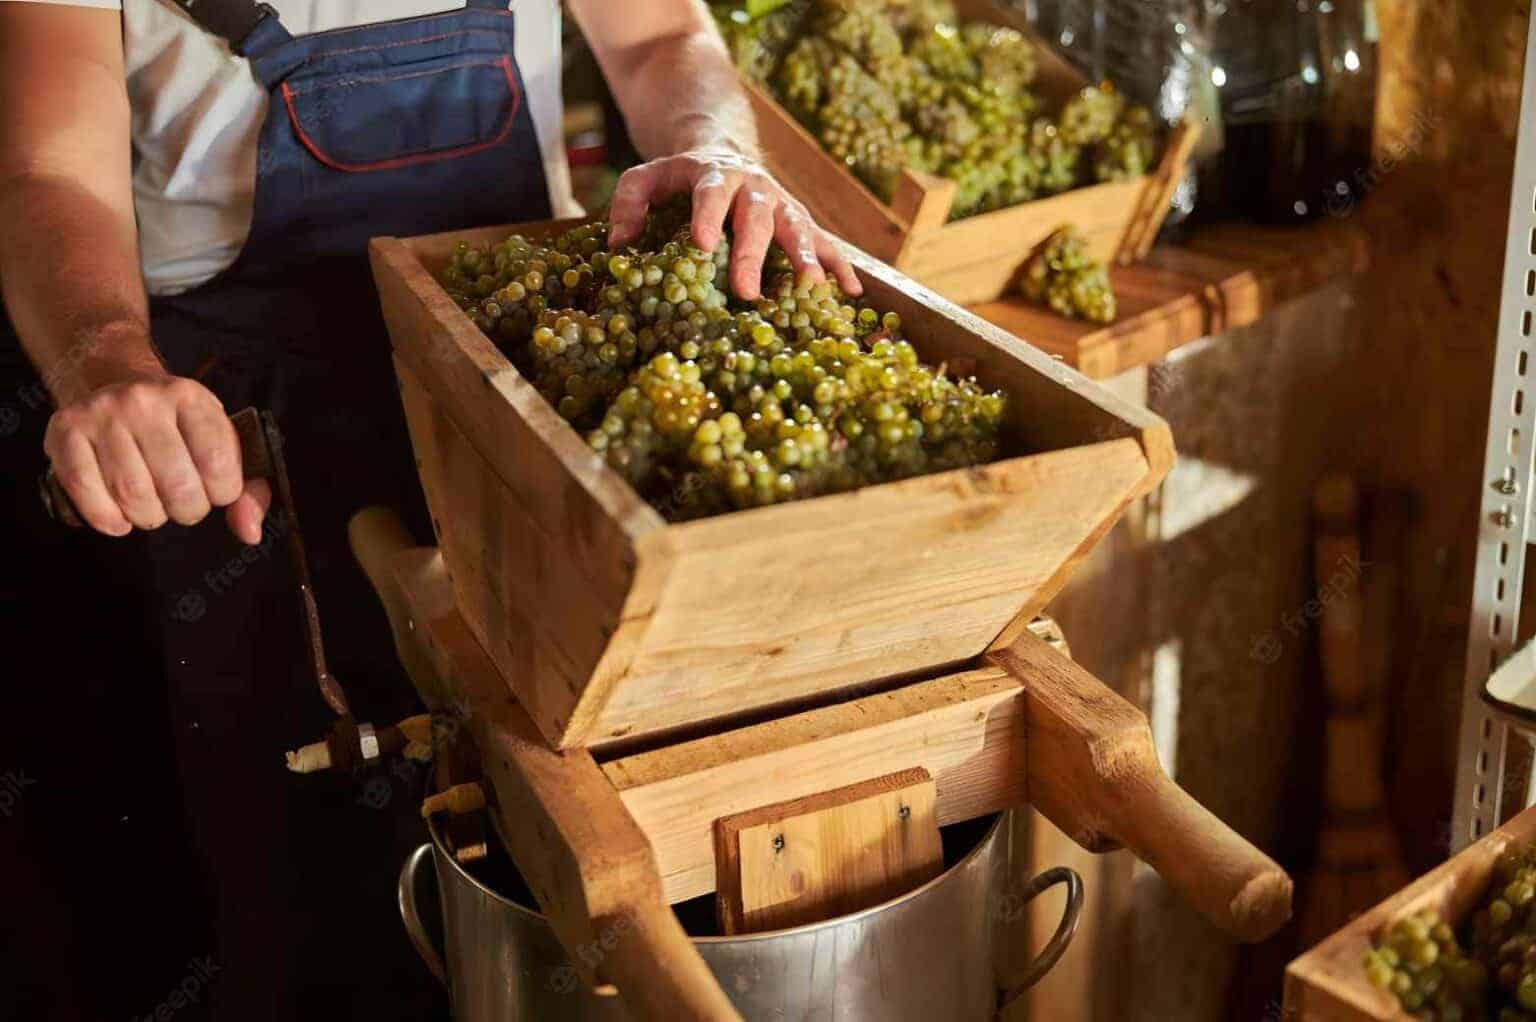
You can skip this step if you plan to use white wine juice.
There are many ways to crush and press grapes. For one, you can do it the old fashion way. By stomping on them! On the other hand, there are also many machines for this task.
In this step, you might want to crush the grapes. However, you want to avoid doing so to the seeds as it will add more tannins to the wine you are making.
Many food-grade containers will do for this step, but it would be ideal to use a clear one. One that allows seeing inside.
Earlier, we said that picking grapes at cool temperatures is ideal. The same goes for this step. As much as possible, you want to keep the grapes as cold as possible here.
Finally, you do not want to forget to treat your grapes with some sulfur dioxide. It will help you with rid of and avoid unwanted unseen substances.
Step 3: Letting the Grape Juice Settle
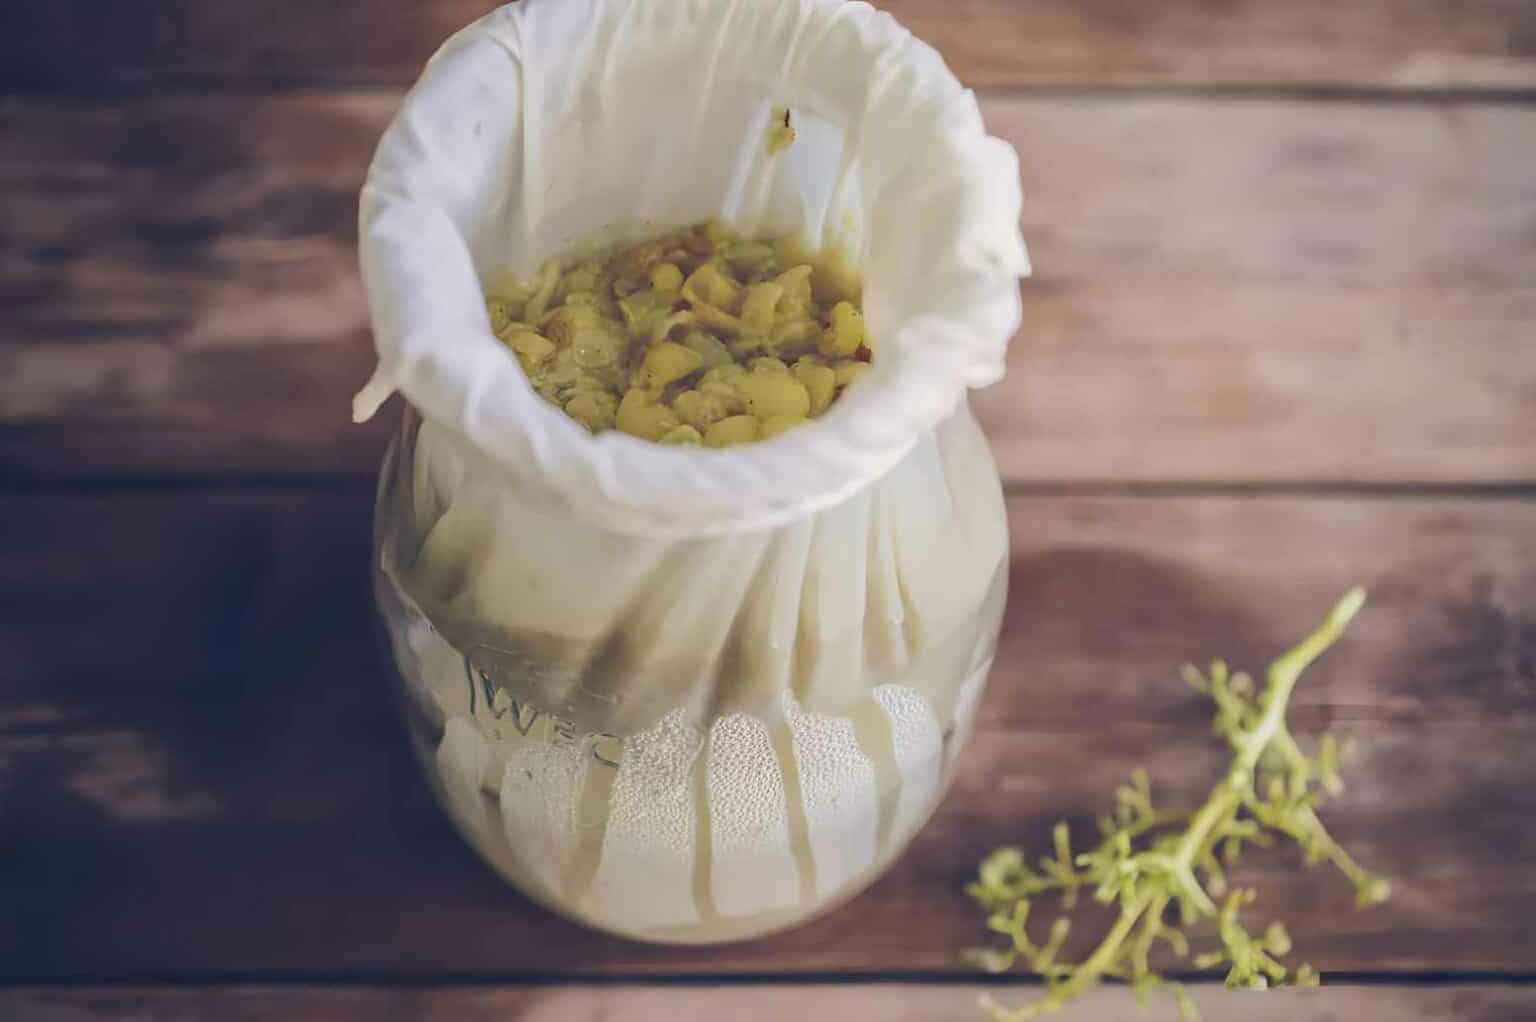 Once you have crushed and pressed your grapes, you will have some grape juice. A cloudy one but a grape juice, still.
Here, you want to let the grape juice settle for a few hours to a few days. Again, temperature plays a crucial role here. You want to place your grape juice somewhere cool. That is, below 45° F (7° C). You do not have to worry, though. Even if you do not have fancy winemaking machinery, your refrigerator can likely already help you in this step.
Once the time for settling is up, you will see some solids at the bottom of your container. You do not want these things included in the following steps. There are a few ways to remove them, but it would be best to do so via racking.
Step 4: Adjusting
If you opted for white wine juice, you can skip the last steps and start here.
Depending on the white wine you are making, you might want to adjust a few things before moving on to the next step. However, two things you do not want to forget to check and regulate are acidity and sugar levels.
If you have made red wine before, you probably already know that some adjustments could be a big deal. However, you do not have to worry. White wine is more forgiving.
Step 5: Starting the Fermentation Process
Simply put, the fermentation process is where yeasts turn the sugar into alcohol and carbon dioxide. In other words, this step is where the grape starts turning into wine.
To start, bring the temperature up to around 70° F (21° C).
After that, you want to pick a reliable commercial yeast to add to your solution. While all grapes have some wild yeasts, they could be hard to control. Also, these wild yeasts might have already died when you added the sulfur dioxide in one of the previous steps. Using wild yeast is still possible, though. Commercial yeasts are often only more convenient to use hence the suggestion.
This part could be tricky. It might be a little bit of a trial and error. If you decide to go and use wild yeasts, it might take a few attempts to get the hang of it. On the other hand, there are many different types of commercial yeasts. With that, it might also take a few attempts to find the best one for you and the wine you are making.
Once the fermentation process is on the move, you want to bring the temperature down again. How low will depend on the yeast you have chosen.
You want to stir the wine once or twice a day and give it a good sniff every time you do. If you get the slightest whiff of an off smell, do not ignore it. Some odors you want to keep watch for are rotten eggs, vinegar, and nail polish remover. These scents spell trouble. However, you do not have to worry. If caught on early, it will be an easy fix. For example, if you get a whiff of rotten eggs, it might only mean there is a problem with the temperature. With that, you might only need to lower or raise the temperatures.
Starting the Malolactic Fermentation
After that, you can also opt to proceed with malolactic fermentation.
The fermentation we discussed above is sometimes also referred to as alcoholic fermentation. That is because, as we have mentioned earlier, one of its outputs is alcohol. On the other hand, what happens in malolactic fermentation is exactly what the name suggests. Here, malic acid turns into lactic acid.
This fermentation is sometimes also called the second fermentation. It is optional and more of a stylistic choice. Not all white wines need to go through this one. Sometimes, it would be better for a white wine to skip it.
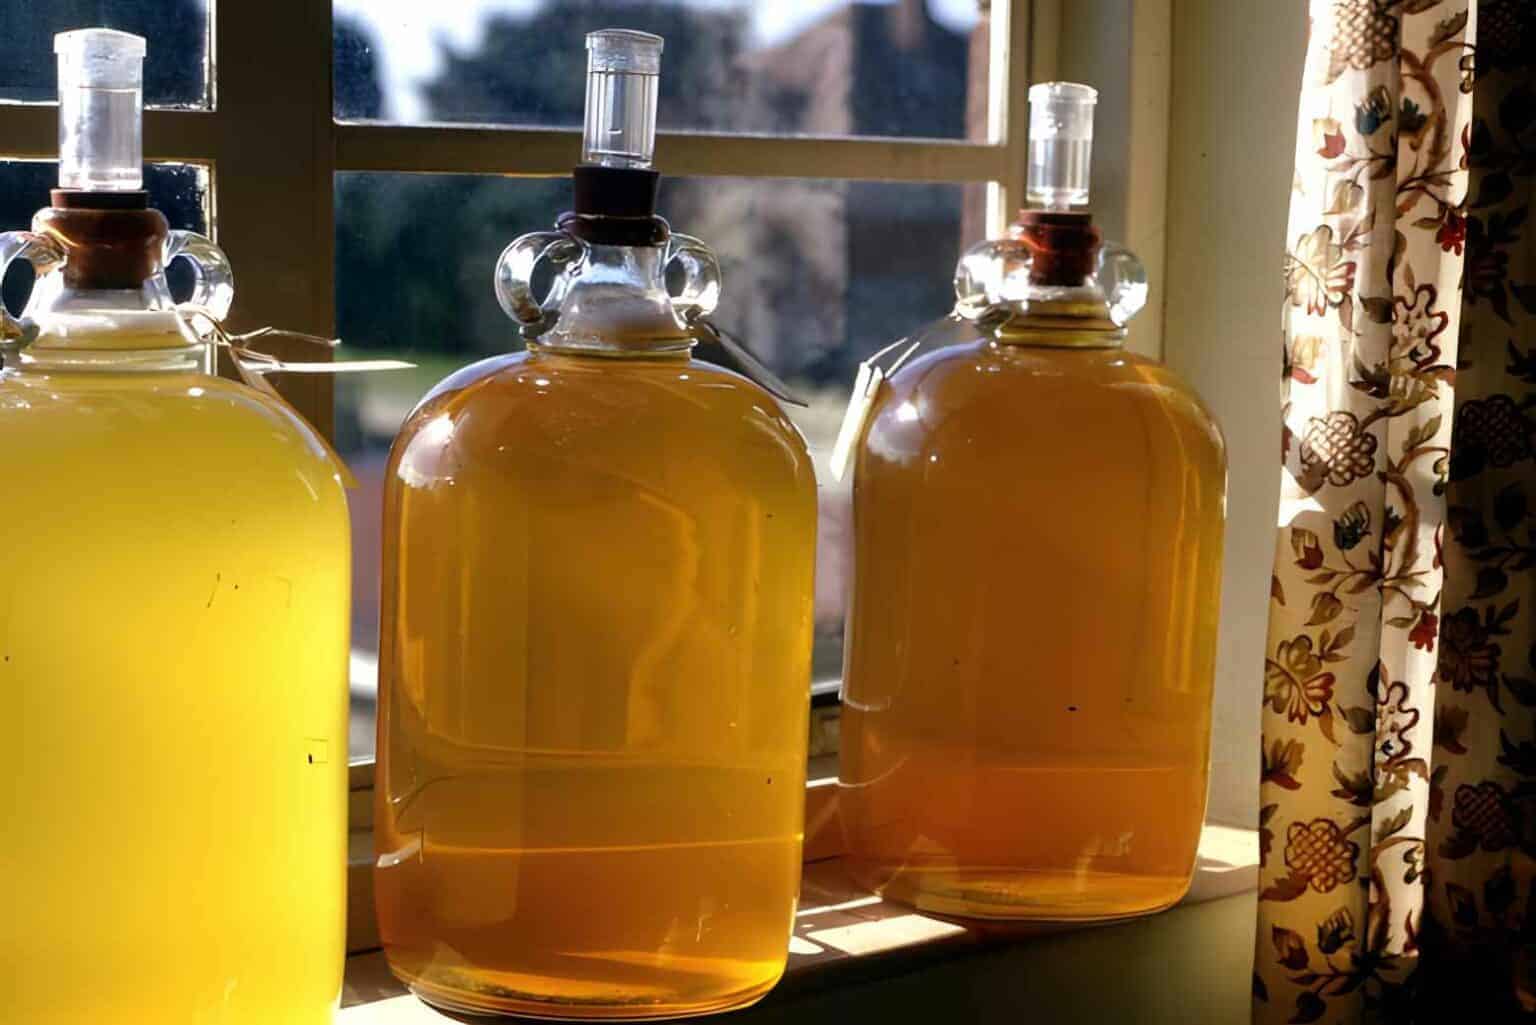
Step 6: Ageing the Wine
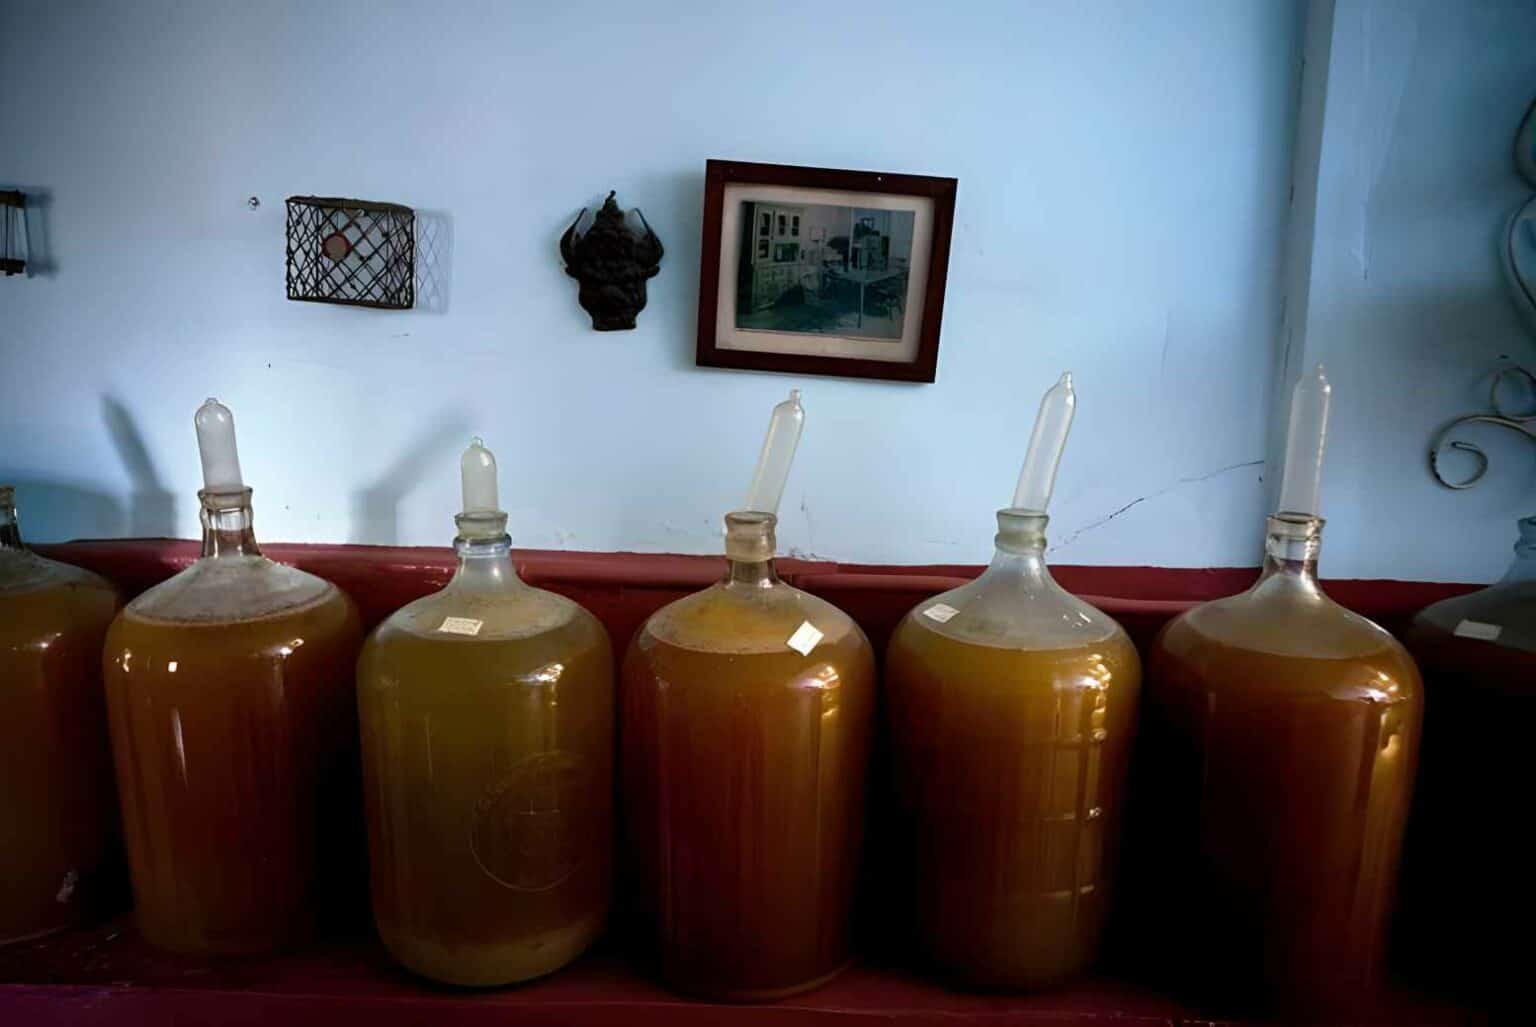
Here, the waiting game begins.
Wine needs time before it can get on shelves and tables. After the fermentation process, you want to let the wine age for a few months to a few years, depending on the white wine you are making.
You can age a white wine in an oak barrel, but that is not the usual choice. White wine usually boasts fruity flavors and aromas, and the oak could easily overpower these. With that, stainless steel tanks could make for a fine choice.
Step 7: Blending the Wine
This step is optional, and if it is your first time making white wine, you will likely have to skip this step.
As you might have already guessed, it is in this part where you can blend different varieties before bottling. If it is not your first time making white wine, you might have some left from your previous project. You might want to experiment and mix those with your new batch. If it is your first time making white wine, you might want to separate some to try and blend with your next batch.
Step 8: Clarifying the Wine
After all that, you might notice that your wine is still cloudy. You want it to clear up before bottling. There are many ways to do so, from simple racking to clarifying agents. This step could take some time.
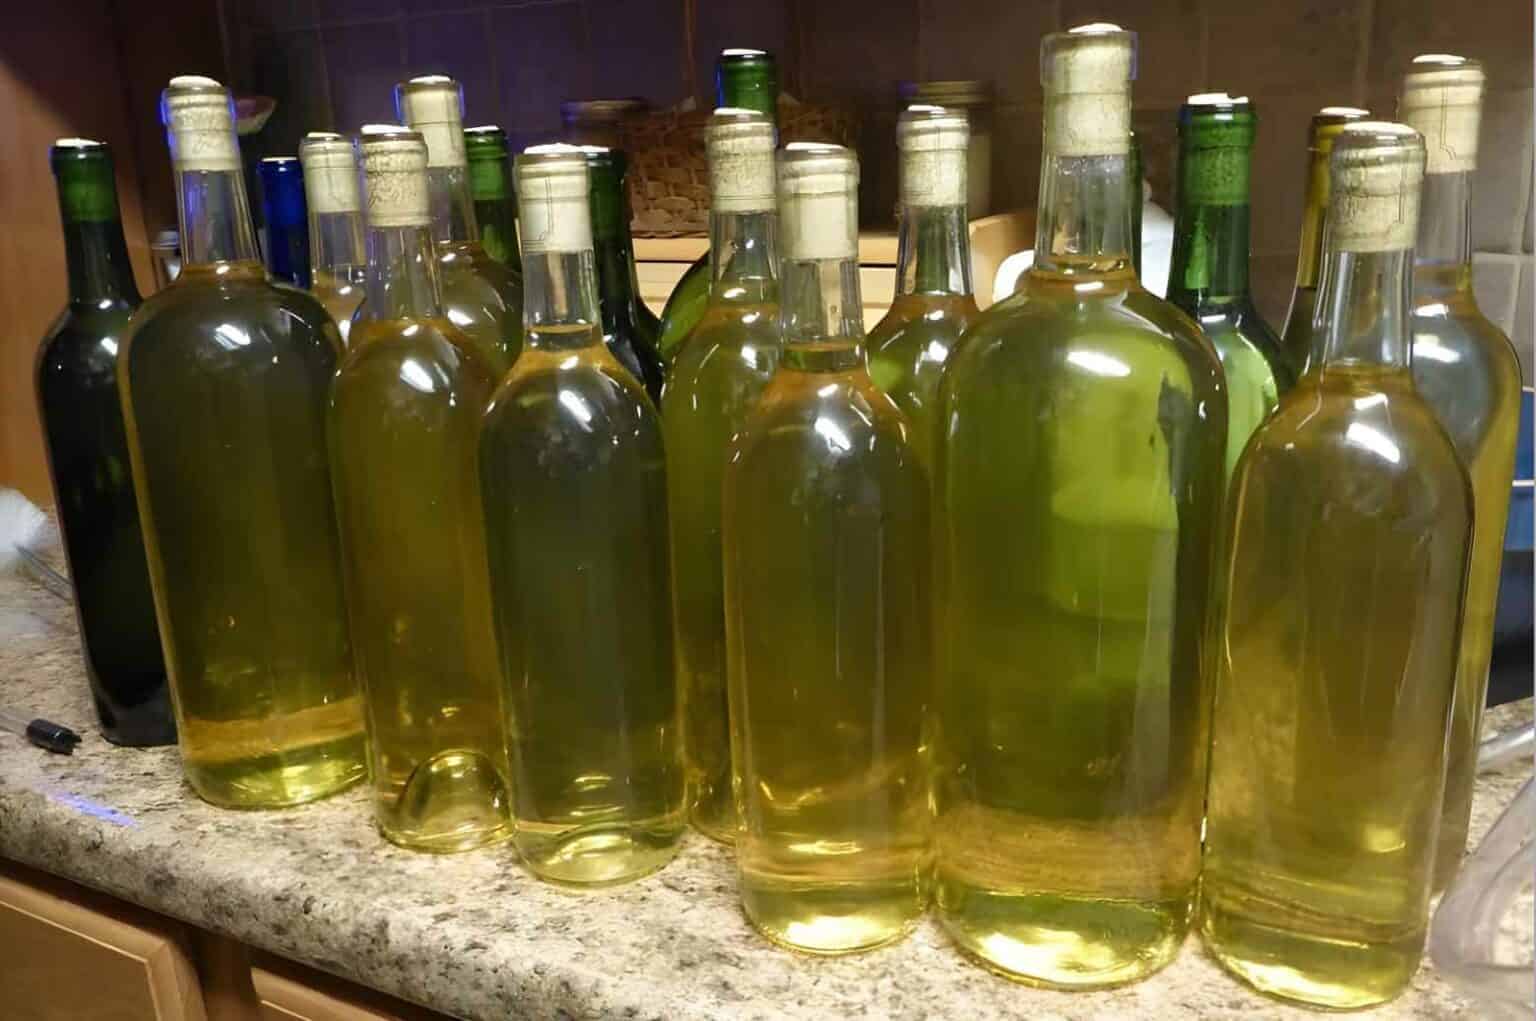
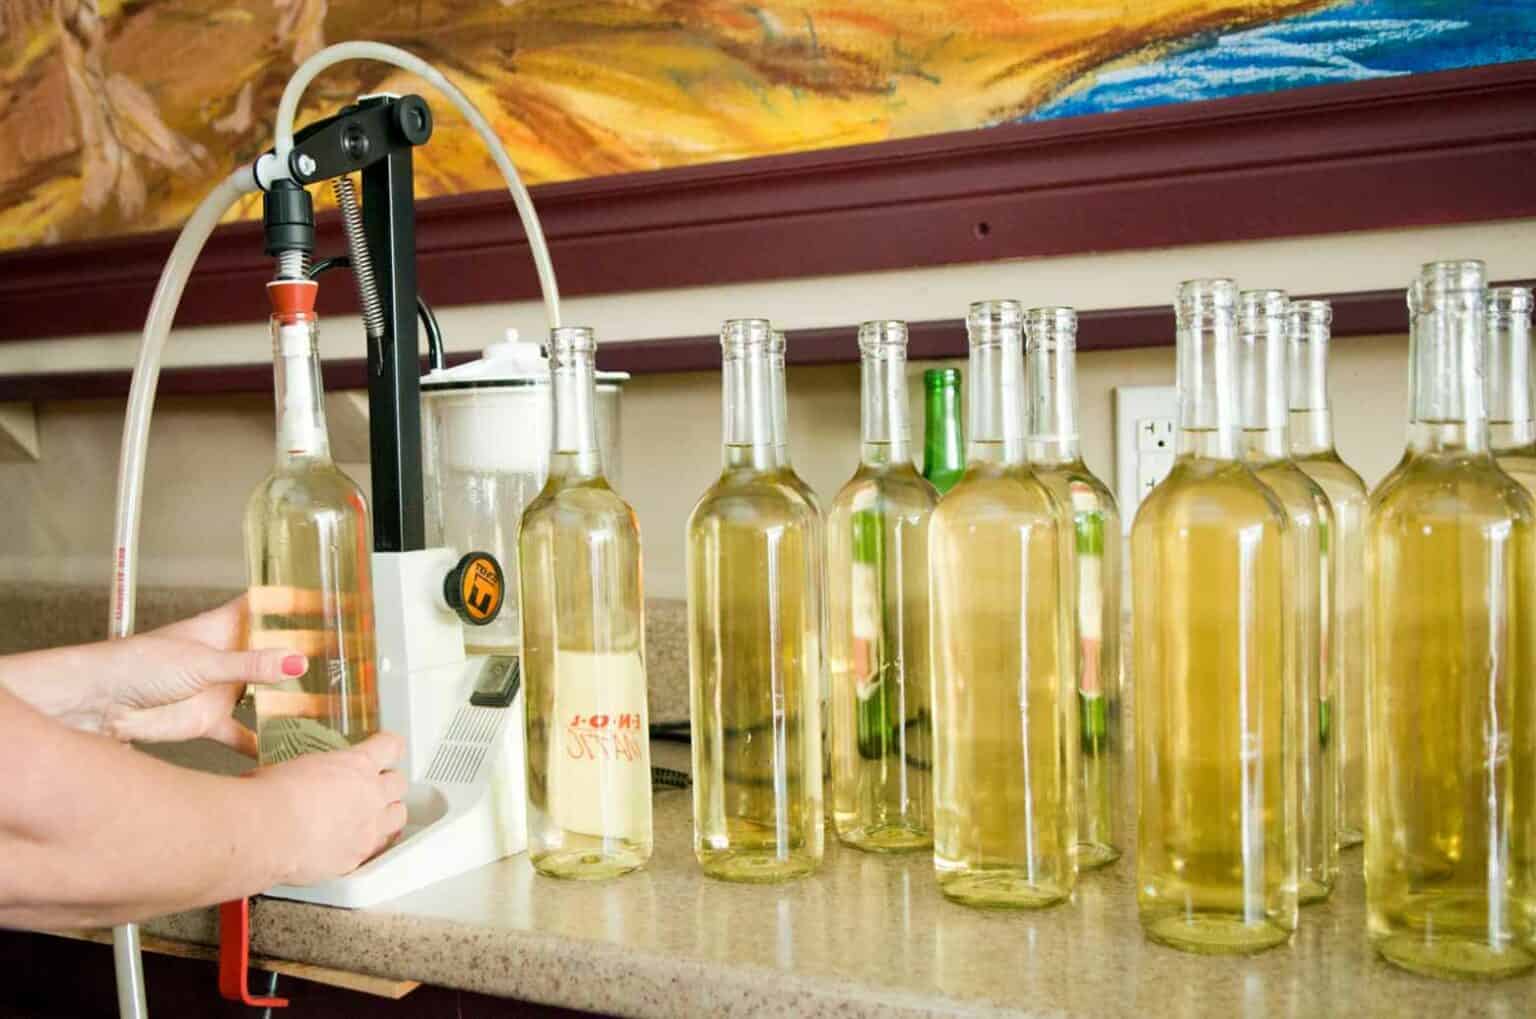
Step 9: Bottling the Wine
Finally, we are at the end. You are now so close to getting a sip of your masterpiece! As you might have guessed, it is time to put the white wine you made in a bottle! However, keep in mind not to rush through this step. You might be excited to display your white wine in a bottle like a trophy, but being meticulous will pay off in this step.
This step might be called bottling, but you do not necessarily have to use a bottle. For one, a pouch will also do!
In this step, you want to transfer your wine to your chosen container while minimizing oxygen exposure as much as possible.
In step six, we talked about aging the wine. However, aging does not have to stop there. If you want, you can give your white wine some more aging time in the bottle before enjoying it!
Summary
Are you still wondering how to make white wine? Hopefully not, as we showed you today how to do so in nine steps!
We hope we can help you today. If you have other wine worries, you might want to check out our other talks. We still have plenty of wine knowledge to share with you!

George Moore, co-founder of Wine Flavor Guru, is a charismatic entrepreneur with a rich background in California’s wine industry. Alongside Sylvia, he transformed a Sonoma County vineyard into a source of premium wines. George’s expertise in sourcing exceptional grapes and his approachable style make wine appreciation both accessible and engaging.