In the past, only mansions and restaurants have wine cellars to store their precious collection. However, it has already become a modern trend in residential places.
Whether you’re a newbie or a seasoned wine collector, it’s best to have a specialized area that can store and preserve your wines. Read on to know how to build a wine cellar like a pro.
The Benefits of Having a Wine Cellar
Even if you already have the resources to build your wine cellar, you might still have some hesitations. It’s best to understand why you must provide your precious wine collection home to call its own.
1. It preserves and improves the wine quality
Food products and beverages made with natural ingredients are perishable. Wine is no different. They can spoil when stored in areas where humidity and temperature are not consistently optimal. Even a slight drop in temperature can lower the wine’s quality.
Most wine collectors build their wine cellars to manage the humidity and temperature levels. A specialized storage room allows the beverage to maintain its flavor and aroma. In addition, a wine cellar can prevent unnecessary movements or vibrations, which can significantly reduce the wine’s quality.
2. It helps organize the collection
Direct access to your wine collection will allow you to organize and manage them efficiently. It enables you to monitor and update the inventory and the accessories that go with them. It is also an excellent opportunity to label your collection based on the best time to drink them.
3. It’s more convenient
It would be advantageous having your wine collection if you love entertaining or serving elegant dinners. You don’t have to spend time buying from the store every time you have an event. You can choose the best wine for your party without leaving your home.
4. It can save you money in the long run
Buying wines in cases can be cost-effective in the long run. You can take advantage of the discounts given by wine shops for bulk orders. You can also save on delivery fees by ordering several bottles.
5. It can be a good investment
Some wine connoisseurs purchase vintage wines at a lower price and store them in their cellars. They sell them at a premium price when the wines have reached peak aging. However, you must ensure that the wines are appropriately kept in a cellar to demand a high price.
Preparing the Wine Cellar Space
Having a wine cellar is an essential part of wine appreciation and collection. For sure, you’re psyched to build your own storage space by now. Before you bring out the hammers and drills, here are some things you need to prepare and consider.
Significant Elements of a Wine Cellar
A suitable wine cellar must meet the following basic requirements. It’s best if you create an area with the following elements to ensure the quality of your wine collection.
- Darkness
- 50%-70% humidity level
- 45-65 degrees Fahrenheit temperature
- Vibration-free
- Proper wine racks
Location

Generally, the basement is the best place for a cellar since it’s a cooler and more humid space than other rooms in a house. A spare room will do if your home doesn’t have a basement.
You can also consider using the area under the stairs, a walk-in pantry, or a hall closet. No matter your chosen room, it must meet the following basic requirements.
- The location is cold and dry.
- There is no natural light.
- Vibrations can’t pass through (vibrations and movement can spoil the quality of the wines)
- It’s not beside a laundry area, a workshop, or a home gym.
- It’s not under a wooden floor with high foot traffic.
- The area must be free from the air as possible.
- The space should not have any unwanted smells.
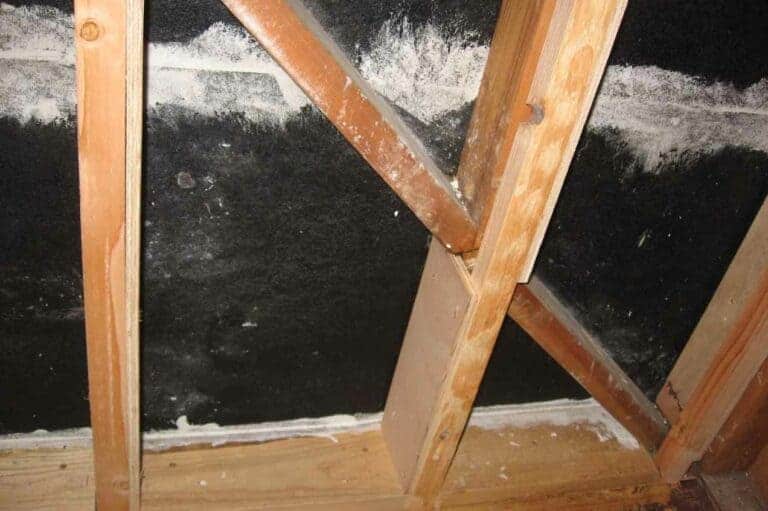
- The wine cellar location must be leak free.
Building permit
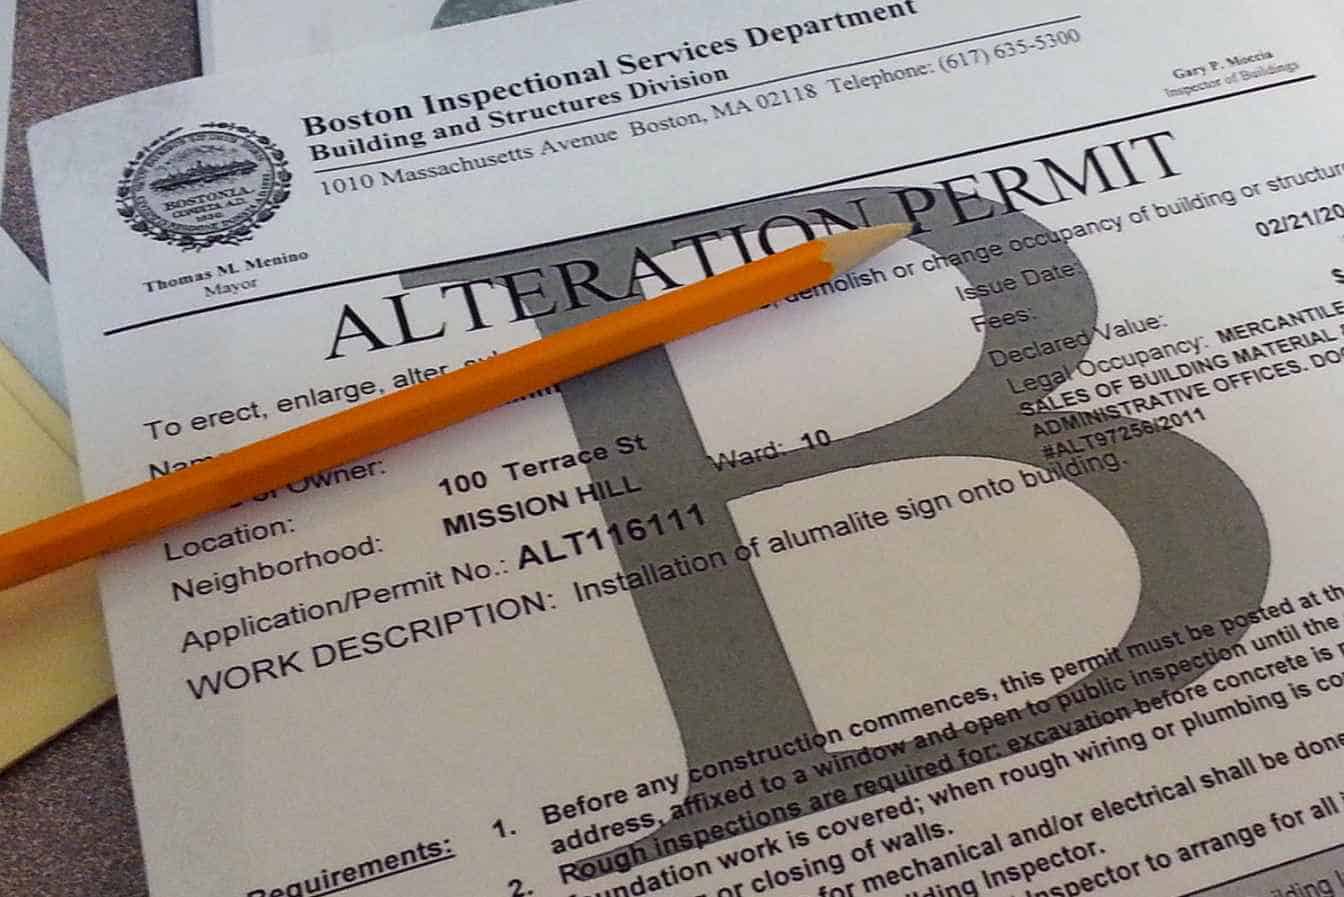
Not all locations may require a building permit. However, it’s best to be on the safe side and inquire with your local building office. Your cellar must meet the required local and national building codes.
Wine Cellar Materials

Before starting your wine cellar construction, you must prepare the following materials and their specifications.
- Ceiling and floor surface – with vapor barrier and R-19 insulation
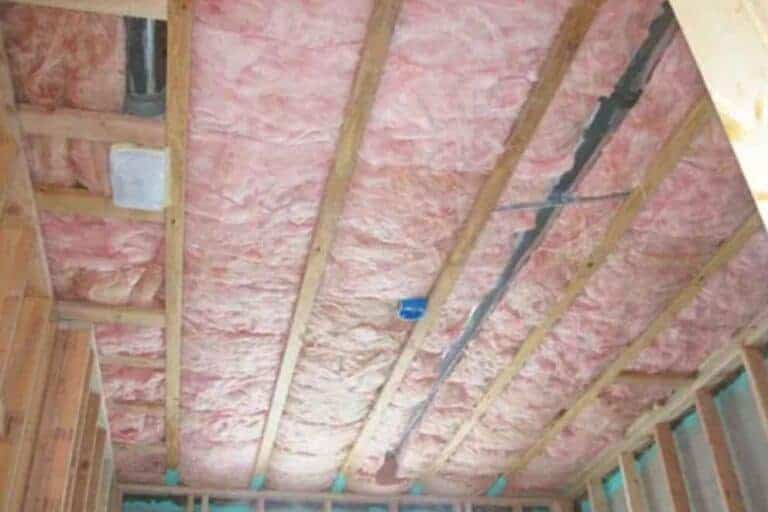
- Ceiling Furring – 2 x 10 framing lumber and R-30 insulation
- Flooring Furring – 2 x 6 framing lumber
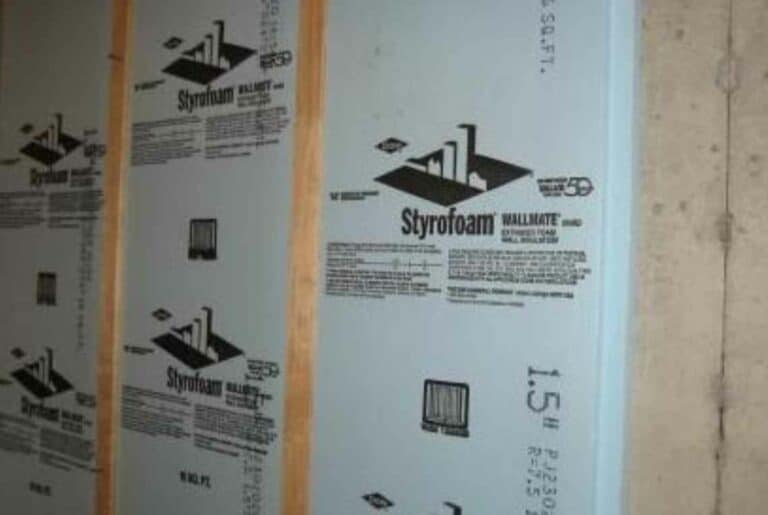
- Vapor barrier – 6 or 8 mil plastic sheeting
- Wine cellar cooling system
- Wine cellar racking
- Cellar wall and ceiling covering
- Wine cellar door
- Monitoring and Security System
Building the Wine Cellar
Now that you have picked a location and prepared the space, it’s time to build your wine cellar. The following are the steps to making the best storage space for your wine collection.
Step 1. Secure a concrete floor with a concrete sealer. If installing tile flooring, seal the grout joint with grout or tile filler.

Step 2. Install a vapor barrier by taping a 6-mil plastic sheeting. Use high-quality duct tape to ensure the barrier is sturdy enough. Attach the vapor barrier on the wall’s warm side (the cold side is the cellar). Make sure to place them between the wall covering and the insulation.

Step 3. Create frames by installing furring strips made from pressure-treated lumber. This type of wood prevents rotting and damage to your frames.
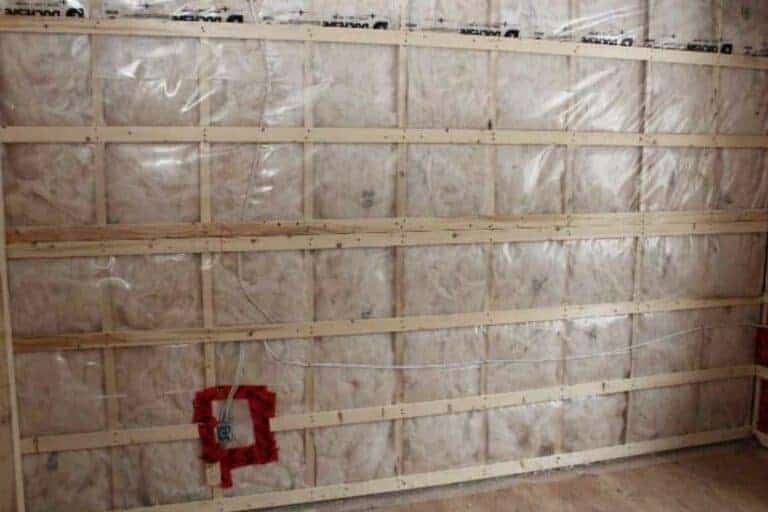
Step 4. Place blue boards between the strips to act as insulation. Ensure that the blue board and the furring strips have the proper size. It will help in achieving an R-19 insulation value.
Step 5. Attach drywall or wall covering.

Step 6. Build the other walls y utilizing 2×6 studs. This measurement will allow you to have R-19 insulation as well.
Step 7. If your area has 2×10 joists, add R-30 insulation to the exposed ceiling.
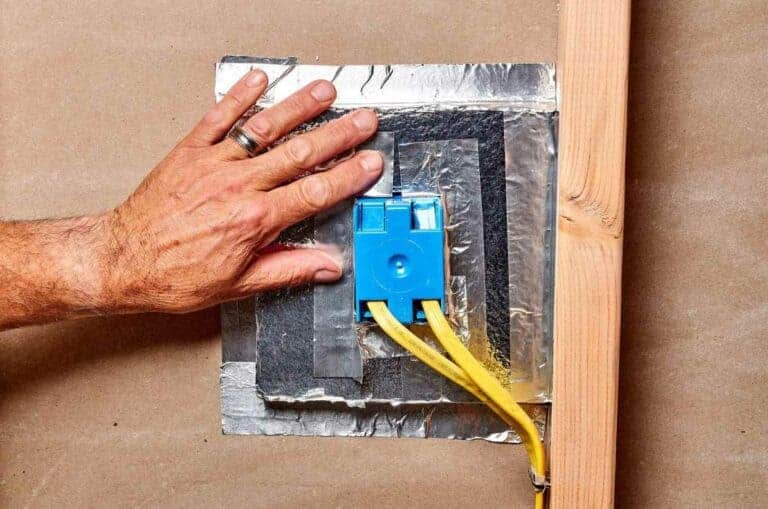
Step 8. If you’re using an existing room, hall closet, or pantry, it would be best to use blow-in insulation in the ceilings and walls. Install necessary wiring before hanging the drywall. Please make sure that the electrical elements abide by local codes.
-
- Wine cellars don’t need windows since UV light can cause the premature aging of wines. However, it still needs some form of lighting to see when you’re inside. Install a lighting fixture with a timer or sensor to ensure you won’t leave the lights on. Avoid using fluorescent lights since they also emit some UV rays.
- Attach the cellar door. It’s best to use a 1.75 -inch exterior grade door to achieve the right insulating conditions. If you will use doors made from glass, pick the panes with an R-Value ranging from 3 to 8.
- Apply a weatherstrip at the bottom of the door to prevent any air leaks. You should feel no air resistance when closing the door. Remember not to use hollow interior core doors.
Please watch this guide for ideas on how to build your wine cellar.
Finishing Touches on the Wine Cellar
At this point, your wine cellar is almost done except for the following finishing touches.
Paint
Paint the walls using zero-VOC and water-based paint. It’s best to aerate the room before storing the wine.
Air Conditioning System
The easiest and most cost-effective cooling unit is a mini-split AC. Aside from cooling, an air conditioner will help keep humidity at optimal levels. A decrease in humidity can cause the corks to dry and shrink.
Meanwhile, too much moisture can result in the growth of harmful mold. Suppose you live in a cold place. In that case, you may install a dehumidifier instead of an air conditioner.
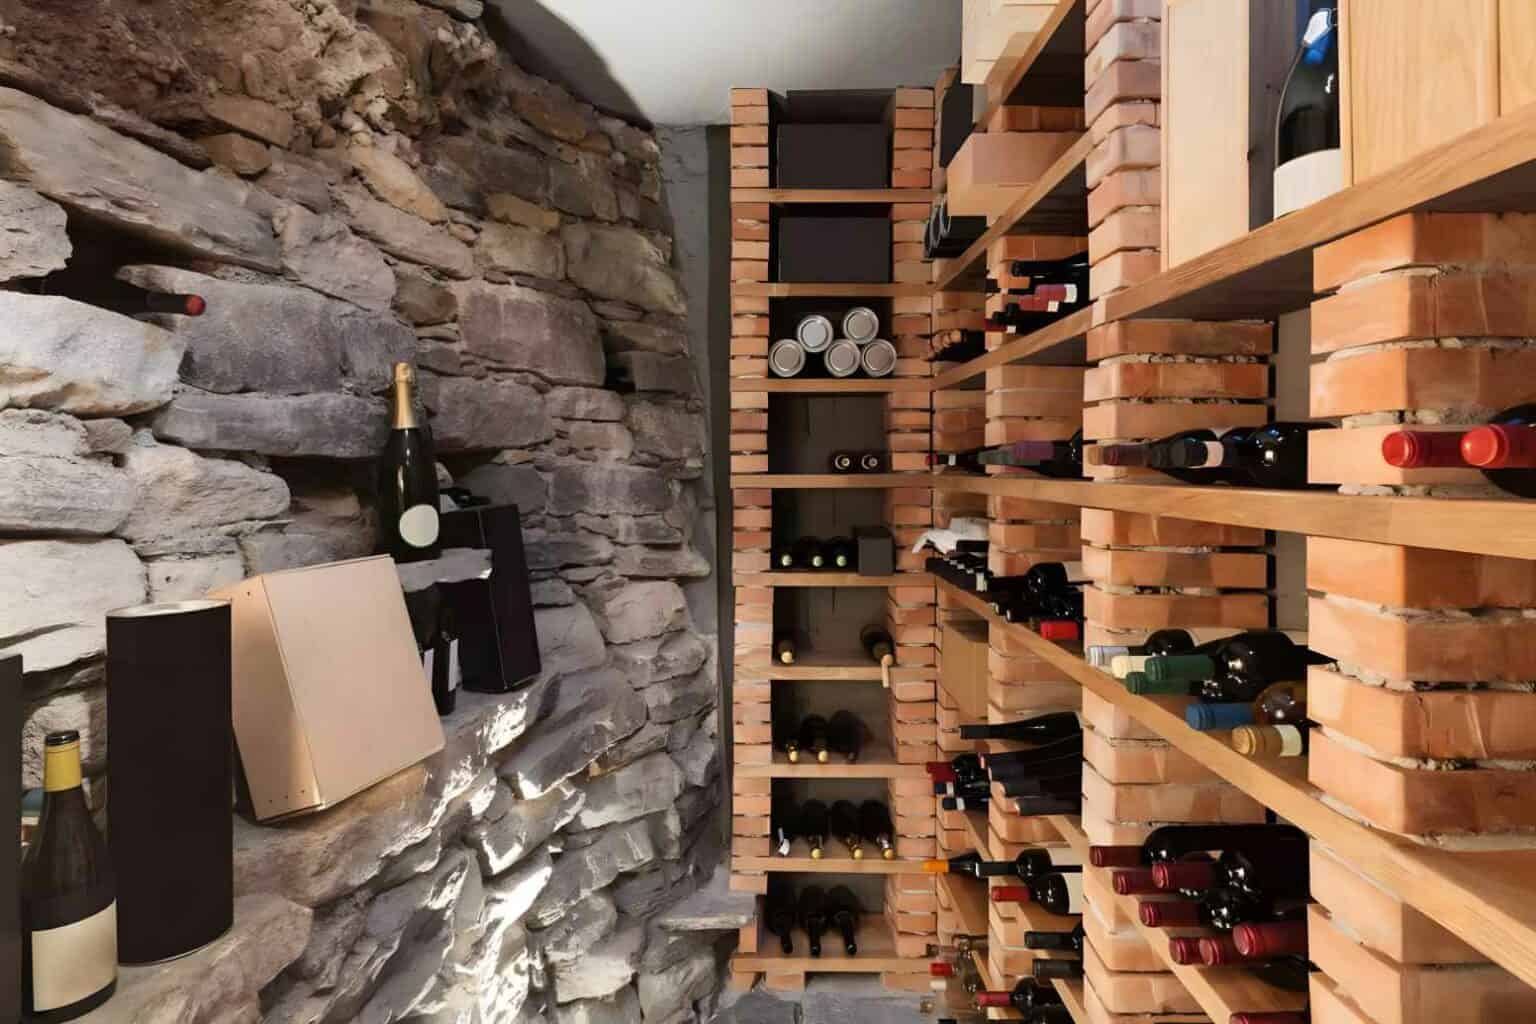
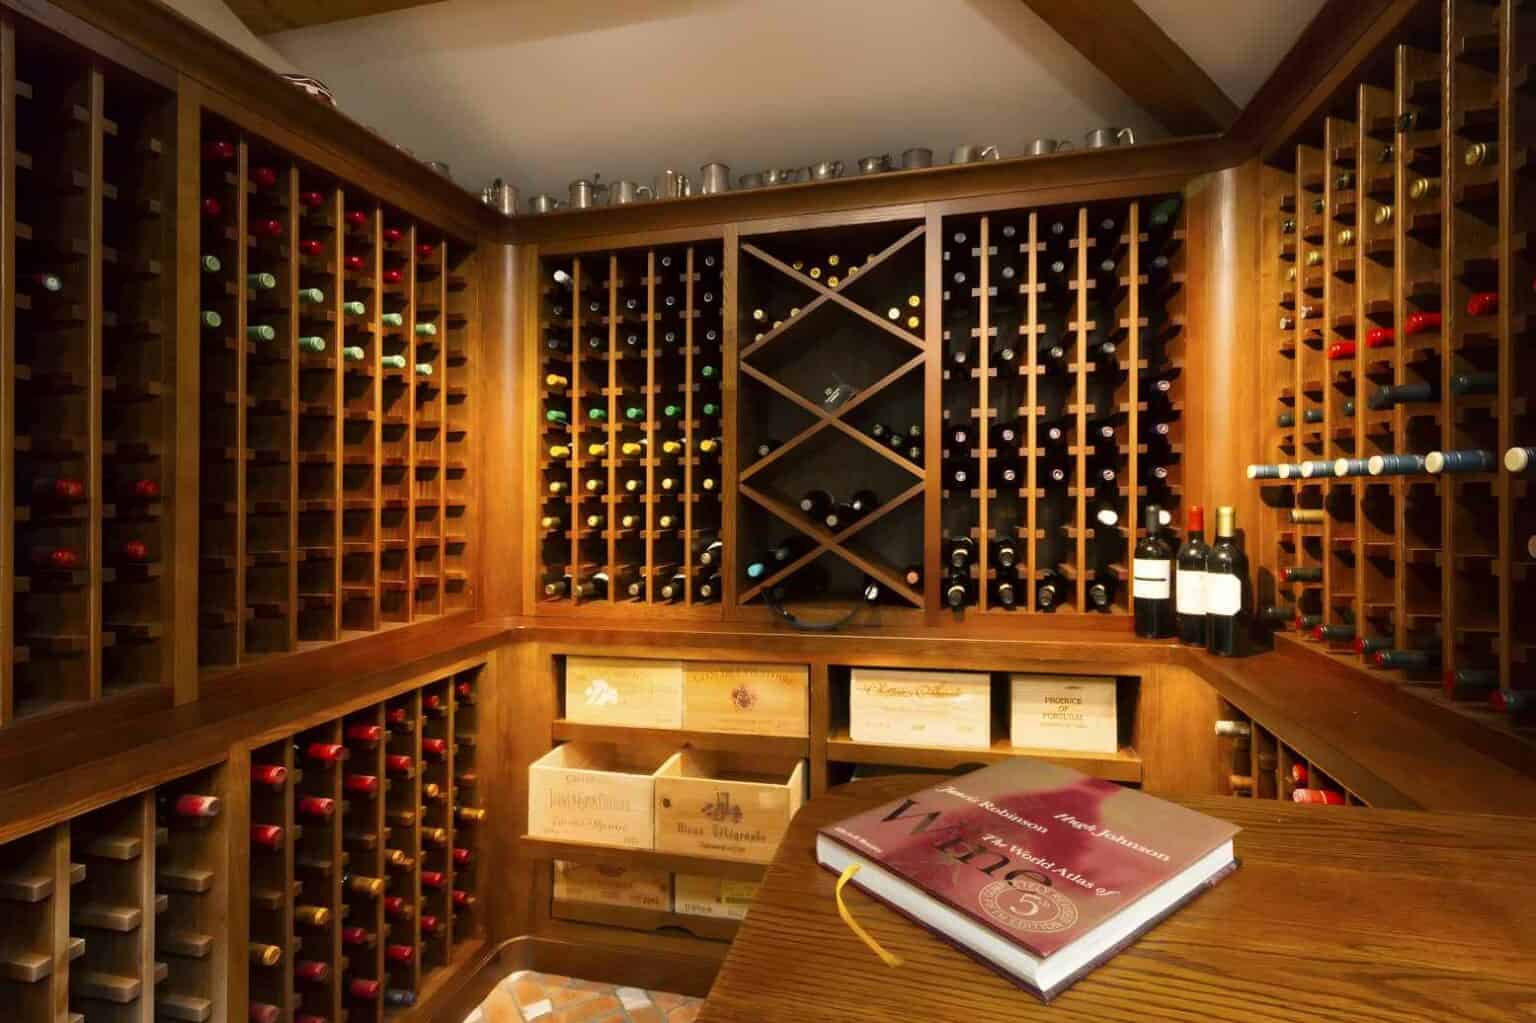
Wine Racking System
The wine racks will hold your precious wine bottles, so choose the sturdiest ones. You can either have them customized or buy kits that you assemble yourself. These kits are usually cheaper than bespoke racks since they are mass-produced.
If you have odd corners in your cellar, it’s best to go for the customized racks. You can choose the design you want with the best craftsmanship and detailing. Remember that wines require a particular storage inclination, so prevent air from crossing the cork cracks. Consider the right bottle angle when creating your rack design.
The following are some suggested wine rack designs you can consider:
- Standard – can store standard-sized bottles only (Magnums and other sizes can’t fit in this rack type)
- Diamond Bin – can accommodate various bottle types
- Magnum and Split – suitable for larger bottles
- Corner Racks – best for utilizing the corner part of the cellar
- Shelves – best for storing wine in their original cases
- Double Deep – doubles the standard rack’s capacity
As a side note, here’s some more information on DIY Wine Rack Plans.
Bars and Credenzas
If you plan on hosting an intimate wine tasting in your cellar, you may want to add a bar or credenza. You can place them in the middle of the cellar.
Choose one with other functions such as sliding pocket doors, stemware racks, or rolling shelves. This furniture can also store wine accessories such as glasses, bottle openers, and wine stoppers.
This video can help you with the step-by-step procedure of building your wine cellar.
Build the Wine Cellar of Your Dreams
Your delicate and expensive bottles of wine deserve a safe and secure storage space. If you have a basement or a spare room at home, it will be nice to turn them into a wine cellar. This helpful guide on how to build a wine cellar can help make your building experience efficient and fun.


George Moore, co-founder of Wine Flavor Guru, is a charismatic entrepreneur with a rich background in California’s wine industry. Alongside Sylvia, he transformed a Sonoma County vineyard into a source of premium wines. George’s expertise in sourcing exceptional grapes and his approachable style make wine appreciation both accessible and engaging.